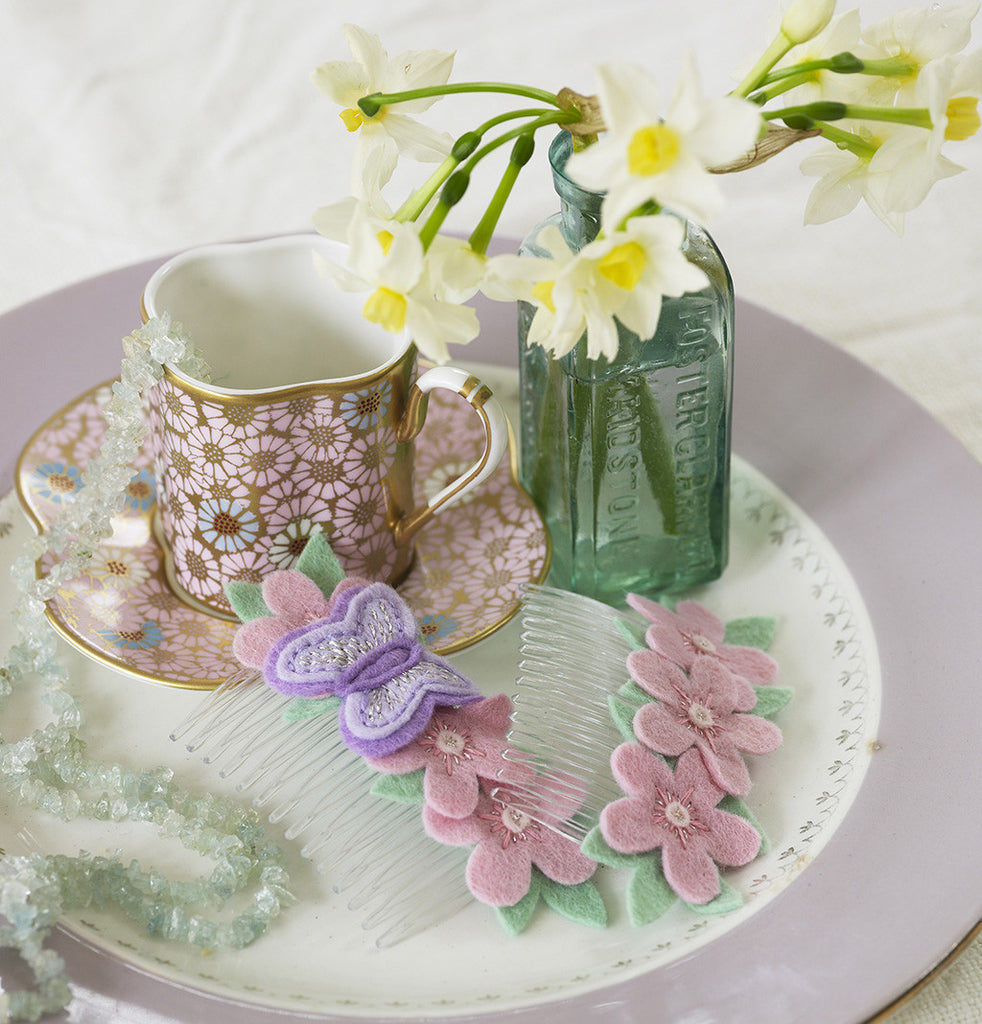
Felt is a great material for kids to work with, it's so versatile and colourful, they can enjoy making a whole variety of simple projects. These butterfly and flower barrettes are perfect for wearing to summer parties to add that special something to an outfit. You could even choose any colour felt you wanted to match your party dress!
 Butterfly & flower barrettes
A pair of pretty barrettes for a touch of summer in your hair, whatever the weather. These would be lovely to wear for parties or weddings, perhaps even made to match a wedding scheme and worn by bridesmaids. Make a mismatched pair as pictured, or add butterflies to both barrettes.
You will need:
Templates (Base template, butterfly body template, flower template, large butterfly wings template, small butterfly wings template, leaf 1, leaf 2, leaf 3, leaf 4)
Mint‐green felt, approx. 6¼ × 7in (16 × 18cm)
Light pink felt, approx. 4 × 5in (10 × 13cm)
Small pieces of lilac, pale purple, and pale pink felt
Lilac, light pink, and mint‐green sewing threads
Lilac, light pink, and silver stranded embroidery flosses (threads)
2 plastic hair barrettes, approx. 2¾in (7cm) wide
Needles, scissors, pins
1. For each barrette you want to make, use the templates to cut out three light pink flowers, two mint-green base pieces, and four mint-green leaves —one of each of the four leaf shapes provided.

2. Arrange the leaf shapes on one of the base pieces as shown (from left to right, leaves 1–4), and sew them in place with green sewing thread and running stitch. When sewing the leaves and other details to the base, avoid sewing right up to or over the edges of the base piece.
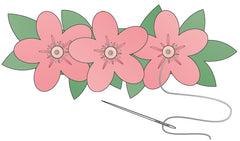
3. Position the three pink flowers on top of the leaves. For flower-only barrettes, space the flowers evenly with the middle flower on top so it slightly overlaps the others (as shown). For barrettes with a butterfly, move the middle flower across a little to leave a gap on the side you want the butterfly. Sew the flowers in place with light pink sewing thread and a small cross of two stitches in the center of each flower. Secure any overlapped petals with small stitches to hold them in place under the overlapping middle flower.

4. Cut a length of pink embroidery floss and separate two strands. Use these to sew ten stitches radiating out from the center of each flower—one long stitch down the center of each petal, and one short stitch between each petal. Start the sewing away from the center of the flowers, so the floss knot isn’t in the middle and won’t keep getting caught by the needle.

5. Cut one very small circle from pale pink felt for each flower. Place one circle in the center of each flower and sew it in place with a single strand of silver embroidery floss. Sew a small star of four overlapping stitches in the center of the circle, then sew small stitches radiating out from the circle, sewing one stitch between each pink stitch sewn in Step 4. If you have trouble cutting out the felt circles you could sew a pink or silver seed bead into the center of each flower instead.

6. Using the butterfly templates, cut out one small butterfly wings from pale purple felt, and one large butterfly wings and one body piece from lilac felt. Place the small butterfly wings on top of the large wings and hold them together. Backstitch around the edge of the small shape with lilac embroidery floss, sewing the two layers together. Begin and end the stitching on the center back of the butterfly, so the knots will be completely hidden when you sew the butterfly onto the barrette.

7. With two strands of silver embroidery floss, fill the space inside the embroidered lilac lines with slightly curving horizontal lines of backstitching. Start and finish sewing on the center back of the butterfly, as before, so the knots will be hidden.

8. Put the butterfly body piece on top of the butterfly wings and arrange the butterfly in the gap between the flowers. Sew the butterfly in position, sewing around the body with running stitch in lilac sewing thread and then around again, and so filling in the gaps to create a continuous line of stitching.

9. Take the second, undecorated, base piece and hold it against the front of the hair barrette. Turn the barrette over, still holding the felt in place, and carefully sew the felt onto the barrette using doubled green sewing thread. Sew between the teeth of the barrette, sewing two stitches between each tooth and starting and finishing the stitching at the front, so the workings will be hidden when the barrette is finished.

10. Place the decorated front and plain back base pieces together and turn the barrette over so the flowers are facing away from you. Whip stitch around the edge of the base pieces with green thread. Finish the stitches neatly on the back of the barrette.

For more felt projects, check out Super Cute Felt by Laura Howard.

 Butterfly & flower barrettes